iOS通知中心(UNUserNotifications)

iOS通知中心(UNUserNotifications)

Aron Lv3

本框架记录的是苹果官方文档UserNotifications的阅读中文笔记, 以及相关自己的理解.

本框架用于实现iOS APNs在iOS客户端的内容, 以及推送UI的定制.

请求通知权限

在App启动时请求授权。

Make your authorization request during your app’s launch cycle.

苹果官方文档要求我们把请求权限的代码写在App启动后的相关方法内。

使用UNUserNotificationCenter来请求通知权限。.current()方法用以获取此类的单例对象。

1
2
3
4
5
let center = UNUserNotificationCenter.current()
// 请求 显示通知,播放通知声音 的权限
center.requestAuthorization(options: [.alert, .sound]) {(granted, error) in

}

检查已请求权限的可用性

用户在第一次请求通知权限之后,后期是可以在系统设置里修改的。用户可以分别控制是否允许你的App开启通知声音,通知横幅,App角标等权限。

检查权限所以使用的相关依赖依然是UNUserNotificationCenter

1
2
3
4
5
6
7
8
9
10
let center = UNUserNotificationCenter.current()

center.getNotificationSettings { (settings) in
guard settings.authorizationStatus == .authorized else {return}
/// 是否被允许在锁屏显示通知,取值enabled/disabled
settings.lockScreenSetting
/// 是否允许显示弹窗
settings.alertSetting
...
}

发送本地通知

推送一个本地通知主要分为以下几步:

  1. 创建UNMutableNotificationContent对象,此对象用于描述通知的内容信息,比如标题和消息体。
  2. 创建UNNotificationTrigger对象(可选)。此对象用于指定通知的触发方式,比如具体时间,具体地点,甚至时间周期。
  3. 创建UNNotificationRequest对象,此对象用于描述一个通知请求,请求会带上以上创建的两个对象。
  4. 提交通知请求
1
2
3
4
5
6
7
8
9
10
11
12
13
14
15
16
17
18
19
20
let notificationContent = UNMutableNotificationContent()
notificationContent.title = "通知标题"
notificationContent.body = "通知内容"

var date = DateComponents()
date.hour = 8
date.minute = 30
/// 在每天的8:30分,触发此通知
let trigger = UNCalendarNotificationTrigger(dateMatching: date, repeats: true)

/// identitier用于保证request的唯一性,以后可用于取消通知时使用。
/// 如果trigger参数为nil,则此通知立即发出。
let request = UNNotificationRequest(identifier: UUID().uuidString,
content: notificationContent, trigger: trigger)

UNUserNotificationCenter.current().add(request) { (error) in
if error != nil {
// pass
}
}

定制通知行为

Actionable notifications

image-20190311101808714

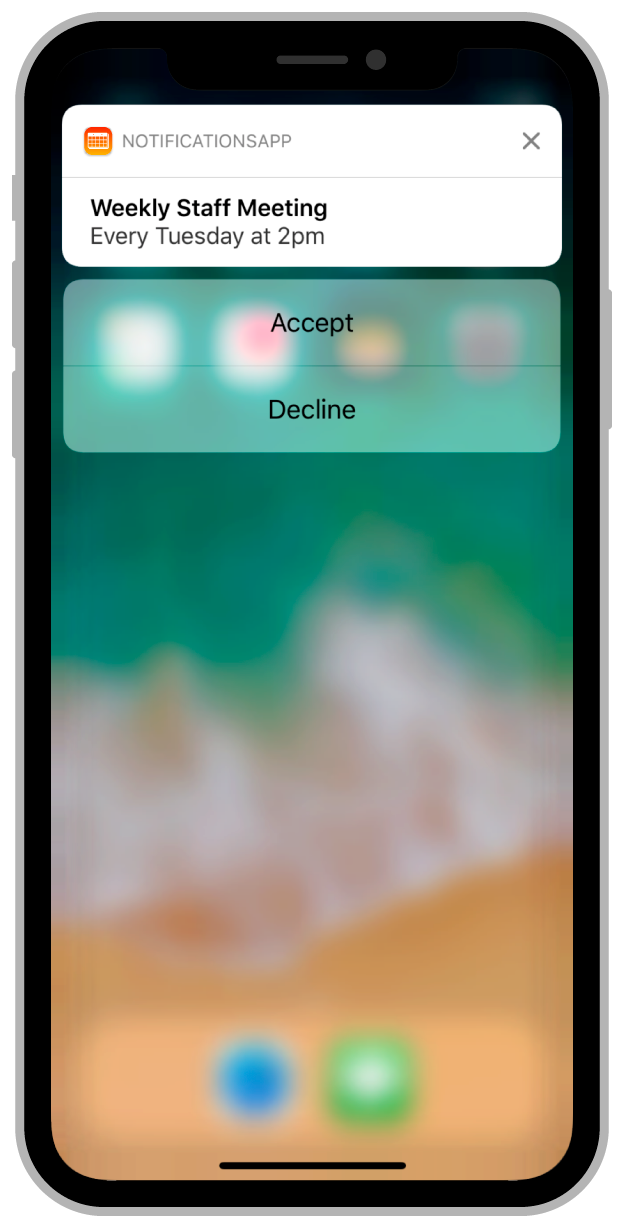
发送一个本地Actionable Notification

1
2
3
4
5
6
7
8
9
10
/// identifier是此action的唯一标识符,title就是按钮的标题,options用于指定此按钮的一些行为,比如.authenticationRequired表示必须手机在解锁状态才能显示此按钮
let acceptAction = UNNotificationAction(identifier: "ACCEPT_ACTION", title: "Accept", options: .authenticationRequired)

/// .destructive表示按钮具有破坏性行为,按钮会显示红色
let declineAction = UNNotificationAction(identifier: "DECLINE_ACTION", title: "Decline", options: .destructive)

/// identifier是此通知类型的标识符,当通知(aps)的categoryIdentifier等于此值时,此通知类型会被应用,此通知类型包含两个按钮
let actionCategory = UNNotificationCategory(identifier: "ACTION_CATEGORY", actions: [acceptAction, , declineAction], intentIdentifiers: [], hiddenPreviewsBodyPlaceholder: "", options: .allowInCarPlay)

UNUserNotificationCenter.current().setNotificationCategories([actionCategory])

以上代码的作用,注册一个notificationCategory,该category的标识符为ACTION_CATEGORY,本地通知或者远程通知都可以指定标识符,用于指定该通知响应的notificationCategory。

1
2
3
4
5
let content = UNMutableNotificationContent()
content.title = "测试通知标题"
content.body = "测试通知内容"
/// 发送此通知,即可触发上面添加的两个按钮,这里要保证categoryIdentifier和之前注册的时候填写的一致
content.categoryIdentifier = "ACTION_CATEGORY"

处理通知按钮点击事件

要处理通知按钮的点击行为,用户必须在程序启动完成之前注册代理,代理是UNUserNotificationCenterDelegate类型的对象,否则可能会错过程序启动时传入的通知。

实现optional func userNotificationCenter(_ center: UNUserNotificationCenter, didReceive response: UNNotificationResponse, withCompletionHandler completionHandler: @escaping () -> Void)方法,并根据带来的通知处理结果,来规划按钮的点击逻辑。

1
2
3
4
5
6
7
8
9
10
func userNotificationCenter(_ center: UNUserNotificationCenter, didReceive response: UNNotificationResponse, withCompletionHandler completionHandler: @escaping () -> Void) {

let userInfo = response.notification.request.content.userInfo
/// 这个就是点击的按钮的identifier
let actionIdentifier = response.actionIdentifier

...

completionHandler()
}

接收远程通知

使远程通知也可以显示自定义按钮,后端开发人员需要保证发送来的通知内容与这个类似:

1
2
3
4
5
6
7
8
9
10
11
12
{	
"aps": {
/*这里的category等于上面写的categoryIdentifier*/
"category": "ACTION_CATEGORY",
"alert": {
"title": "通知标题",
"body": "通知内容"
}
}
"field1":"message",
"field2":"message"
}

只要payload内的category字段与App内置对应的的categoryIdentifier匹配,收到此通知时下拉或者重按,即可出现按钮。

处理通知(前台)

在前台的时候收到通知会回调这个方法:userNotificationCenter(_:willPresent:withCompletionHandler:),请注意,是收到通知而非点击通知。

1
2
3
4
5
6
7
8
9
10
11
12
13
func userNotificationCenter(_ center: UNUserNotificationCenter, willPresent notification: UNNotification, withCompletionHandler completionHandler: @escaping (UNNotificationPresentationOptions) -> Void) {

if notification.request.content.categoryIdentifier == "ACTION_CATEGORY" {
let field1 = notification.request.content.userInfo["field1"] as? String
let field2 = notification.request.content.userInfo["field2"] as? String
// ...
}

// completionHandler一定要调用,这个回调的参数决定了收到通知后的系统行为
// completionHandler([])表示收到通知后没有系统动作
// completionHandler([.sound])表示播放通知声音
completionHandler([.sound, .badge])
}

在App收到通知之前,修改通知的内容(payload)

要实现这个类似于”拦截通知”的功能,你需要新建一个Notification Service Extension

在Xcode项目里,点选菜单栏File -> New -> Target, 然后选择Notification Service Extension,填写信息并完成创建。

在Xcode为你新建的文件模板里,已经实现了基本的推送文案修改。

1
2
3
4
5
6
7
8
9
10
11
12
13
14
15
16
17
18
19
20
21
22
/// 使用此方法来修改通知信息,将最终的结果通过contentHandler回传给系统
/// 你可以在此方法内下载图片,或者电影等信息
/// 此方法有(不超过30s的)时间限制,需要在时限内调用contentHandler
func didReceive(_ request: UNNotificationRequest, withContentHandler contentHandler: @escaping (UNNotificationContent) -> Void) {
/// 保存contentHandler,以便于下面那个方法内调用
self.contentHandler = contentHandler
let newContent = request.content.mutableCopy()
/// 下载完成后配置此条通知的附件📎,可用于显示图片,视频,或者音频等内容
///  参数里的URL必须是fileURL
///  options字典用于定义一些额外的配置,比如图片缩略图的裁剪区域等,具体配置定义在https://developer.apple.com/documentation/usernotifications/unnotificationattachment
let attachment = try? UNNotificationAttachment(identifier: UDID().udidString, url URL: URL(fileURLWithPath: "", options: nil)
newContent.attachments = [attachment]
/// 最后一定要调用contentHandler
}

/// 如果contentHandler在时限内没有调用,系统将会通过此方法通知app
/// 此方法内应当尽可能快的调用contentHandler,
func serviceExtensionTimeWillExpire() {
if let contentHandler = self.contentHandler {
contentHandler()
}
}

请注意,系统只会在你的APNs Payload内包含下列信息时,才会执行此拓展:

  • 必须包含mutable-content,且value为1;
  • 必须包含alert字典,且其中的body或者title必须有值;
1
2
3
4
5
6
7
8
9
10
{
"aps": {
"alert": {
"title": "通知标题",
"body": "通知内容"
},
"mutable-content": 1,
"category": "..."
}
}

自定义通知UI

要实现这个功能,你需要新建一个Notification Content Extension.

在Xcode项目里,点选菜单栏File -> New -> Target, 然后选择Notification Content Extension,填写信息并完成创建。

1
2
3
4
5
# The file list we got after creation.
├── Base.lproj
│   └── MainInterface.storyboard
├── Info.plist
└── NotificationViewController.swift

以下是注意事项:

  • 你不能在Extension里面自己新建ViewController文件,你也不能再storyboard里面新建scene,一个Notification Content Extension只能对应一种Notification Category.
  • 你可以用新建多个Notification Content Extension的方式来实现多种通知UI的定制,需要注意的是,多个不同的extension,你需要保证所支持的Notification Category的唯一性.

修改UI样式

你可以在MainInterface.storyboard或者NotificationViewController.swift中自定义UI,内容的高度可以根据autolayout自适应.

UI的编写就跟一般的UIViewController是一样的,需要注意的应该就是这里的ViewController高度应该是刚刚好跟内容大小一致的,所以说对AutoLayout有一定的要求.

1
2
3
4
5
6
7
/// 此方法将会在第一次下拉通知以及后续有其他相关通知到达之后,被调用
func didReceive(_ notification: UNNotification) {
let notificationTitle = notification.request.content.title
let notificationBody = notification.request.content.body
let attachments = notification.request.content.attachments
/// 根据通知标题,通知内容,以及附件等信息来配置通知的详情UI
}

为你的自定义UI指定所支持的通知类型

前面说了,我们可以用UNNotificationCategory.identifier来确定每一种通知的唯一性.

当系统收到通知时,系统会匹配NotificationCategory的identifier,来确认其是否存在一个自定义通知UI.

Info.plist文件中,使用UNNotificationExtensionCategory字段指定此extension所支持的Notification Categroy.

1
2
3
4
5
6
7
8
9
10
11
12
13
14
15
16
17
18
19
20
...
<key>NSExtension</key>
<dict>
<key>NSExtensionAttributes</key>
<dict>
<!-- 模板里面默认的此字段的类型是String,可以根据实际场景改为String Array -->
<key>UNNotificationExtensionCategory</key>
<string>myNotificationCategory</string>

<!--自己手动改成String Array,可以填写多个Notification Content Identifier-->
<!--当任意一个identifier被匹配到时,当前extension都会被启动-->
<key>UNNotificationExtensionCategory</key>
<array>
<string>myNotificationCategory</string>
<string>myNotificationCategory1</string>
<string>myNotificationCategory2</string>
</array>

</dict>
</dict>
  • 标题: iOS通知中心(UNUserNotifications)
  • 作者: Aron
  • 创建于 : 2019-05-19 20:25:00
  • 更新于 : 2025-10-14 09:29:25
  • 链接: https://likeso.github.io/2019/05/19/usernotifications/
  • 版权声明: 本文章采用 CC BY-NC-SA 4.0 进行许可。
评论