预览 最终的效果:
Demo.gif
代码实现 下面是这个效果的实现部分
画一个圆形 先看一个简单的方式:
1 let path = UIBezierPath (ovalInRect: CGRect (x: 0 , y: 0 , width: 200 , height: 200 ))
这个方式不仅可以画圆,画一个椭圆也是可以的,会根据给定的大小来决定是否为椭圆UIBezierPath仅仅提供了一个视图的路径,如果想要显示的话就要配合CAShapeLayer来使用:
1
2
3
4
5
6
7
let shapeLayer = CAShapeLayer () shapeLayer.path = path.CGPath shapeLayer.frame = CGRect (x: 100 , y: 100 , width: 200 , height: 200 ) shapeLayer.lineWidth = 7.0 shapeLayer.lineCap = kCALineCapRound shapeLayer.strokeColor = UIColor .blackColor().CGColor self .view.layer.addSublayer(shapeLayer)
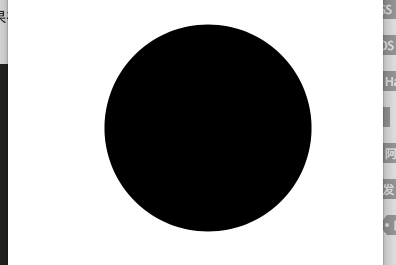
这个时候会出现一个圆形:
圆形_1.png
现在设置一下填充区域的颜色:
1
2
shapeLayer.fillColor = UIColor .clearColor().CGColor
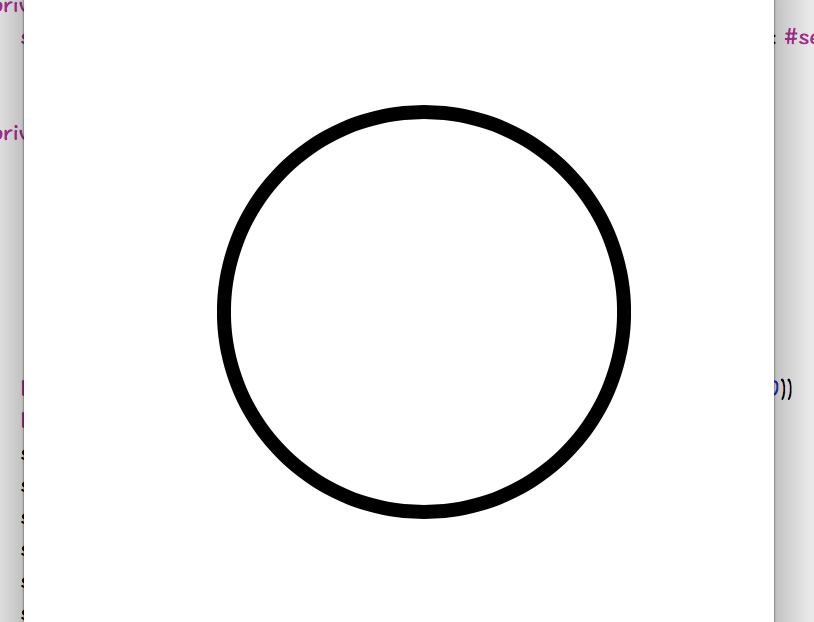
一个真正的圆环出现了:
圆形_2.png
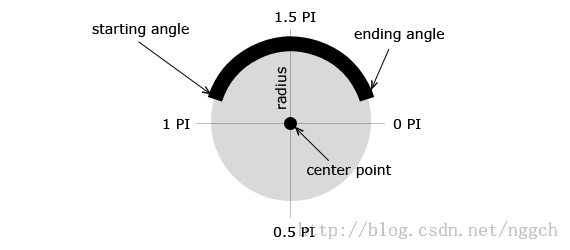
上面是使用的(较为)简单的方式创建UIBezierPath,下面介绍一个较为复杂的方式来实现这个效果:
1
2
3
4
5
let path = UIBezierPath (arcCenter: CGPoint (x: 100 , y: 100 ), radius: 95 , startAngle: 0.0 , endAngle: CGFloat (M_PI ) * 2.0 , clockwise: true )
关于这里的角度的部分参照这张图:
参照.png
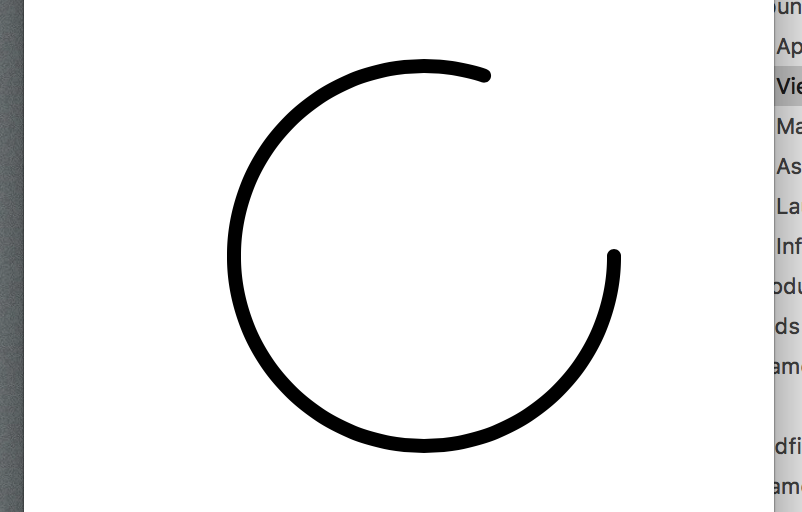
动画部分 接下来需要涉及两个属性:CAShapeLayer的strokeStart以及strokeEnd属性,这两个属性都可以理解为视图绘制’进度’,不同的是前者代表开始绘制的进度,后者代表结束的,取值范围0-1,如果假如说我把strokeEnd设置为0.8,这里是效果图:
demos_5.png
设置为0.5:
demos_5.png
strokeStart的使用也是同样的道理,只不过如果两者如果配合使用的话,需要注意start不能大于end.
在苹果的官方文档中,对这两个属性是这么描述的:
/* These values define the subregion of the path used to draw the
 * stroked outline. The values must be in the range [0,1] with zero
* representing the start of the path and one the end. Values in
 * between zero and one are interpolated linearly along the path
 * length. strokeStart defaults to zero and strokeEnd to one. Both are
* animatable. */
可以看到,最后一句说明,这两个属性都可用于动画
关于弹性动画的部分,主要利用POP的三个自带的动画属性kPOPShapeLayerStrokeStart,kPOPShapeLayerStrokeEnd,kPOPShapeLayerStrokeColor,这三个动画,配合计时器的使用,就可以达到本文中图一的效果,以下是主要代码:
1
2
3
4
5
6
7
8
9
10
11
12
13
14
15
16
17
18
19
20
21
22
23
24
25
26
27
28
29
30
31
32
33
34
35
36
37
38
39
40
41
42
43
44
45
46
47
48
49
50
51
52
53
54
55
lazy var shapeLayer:CAShapeLayer = CAShapeLayer () var timer:NSTimer ? override func viewDidLoad () { super .viewDidLoad() setupView() setupTimer() } private func setupTimer (){ self .timer = NSTimer .scheduledTimerWithTimeInterval(1 , target: self , selector: #selector (self .onTimerAction), userInfo: nil , repeats: true ) } private func setupView (){ let path = UIBezierPath (arcCenter: CGPoint (x: 100 , y: 100 ), radius: 95 , startAngle: 0.0 , endAngle: CGFloat (M_PI ) * 2.0 , clockwise: true ) self .shapeLayer.path = path.CGPath self .shapeLayer.frame = CGRect (x: 100 , y: 100 , width: 200 , height: 200 ) self .shapeLayer.lineWidth = 7.0 self .shapeLayer.lineCap = kCALineCapRound self .shapeLayer.strokeEnd = 0.5 self .shapeLayer.fillColor = UIColor .clearColor().CGColor self .shapeLayer.strokeColor = UIColor .blackColor().CGColor self .view.layer.addSublayer(self .shapeLayer) } @objc private func onTimerAction (sender :NSTimer ){ let strokeValue1 = randomFloatTo1() let strokeValue2 = randomFloatTo1() let strokeStartAnimation = POPSpringAnimation (propertyNamed: kPOPShapeLayerStrokeStart) strokeStartAnimation.toValue = strokeValue1 > strokeValue2 ? strokeValue2 : strokeValue1 strokeStartAnimation.springBounciness = 18.0 let strokeEndAnimation = POPSpringAnimation (propertyNamed: kPOPShapeLayerStrokeEnd) strokeEndAnimation.toValue = strokeValue1 > strokeValue2 ? strokeValue1 : strokeValue2 strokeEndAnimation.springBounciness = 18.0 let strokeColorAnimation = POPBasicAnimation (propertyNamed: kPOPShapeLayerStrokeColor) strokeColorAnimation.toValue = randomColor().CGColor self .shapeLayer.pop_addAnimation(strokeStartAnimation, forKey: "strokeStart" ) self .shapeLayer.pop_addAnimation(strokeEndAnimation, forKey: "strokeEnd" ) self .shapeLayer.pop_addAnimation(strokeColorAnimation, forKey: "strokeColor" ) } private func randomFloatTo1 () -> CGFloat { return CGFloat (arc4random() % 1001 ) / 1000.0 } private func randomColor () -> UIColor { return UIColor (red: randomFloatTo1(), green: randomFloatTo1(), blue: randomFloatTo1(), alpha: 0.8 ) }
使用此效果结合上一篇博客中的倒计时效果,也可以实现一个还算不错的进度条了.